Green Tape and Sharp Blades: Fitting a Load Mat and Rear Seats
Green Tape and Sharp Blades: Fitting a Load Mat and Rear Seats
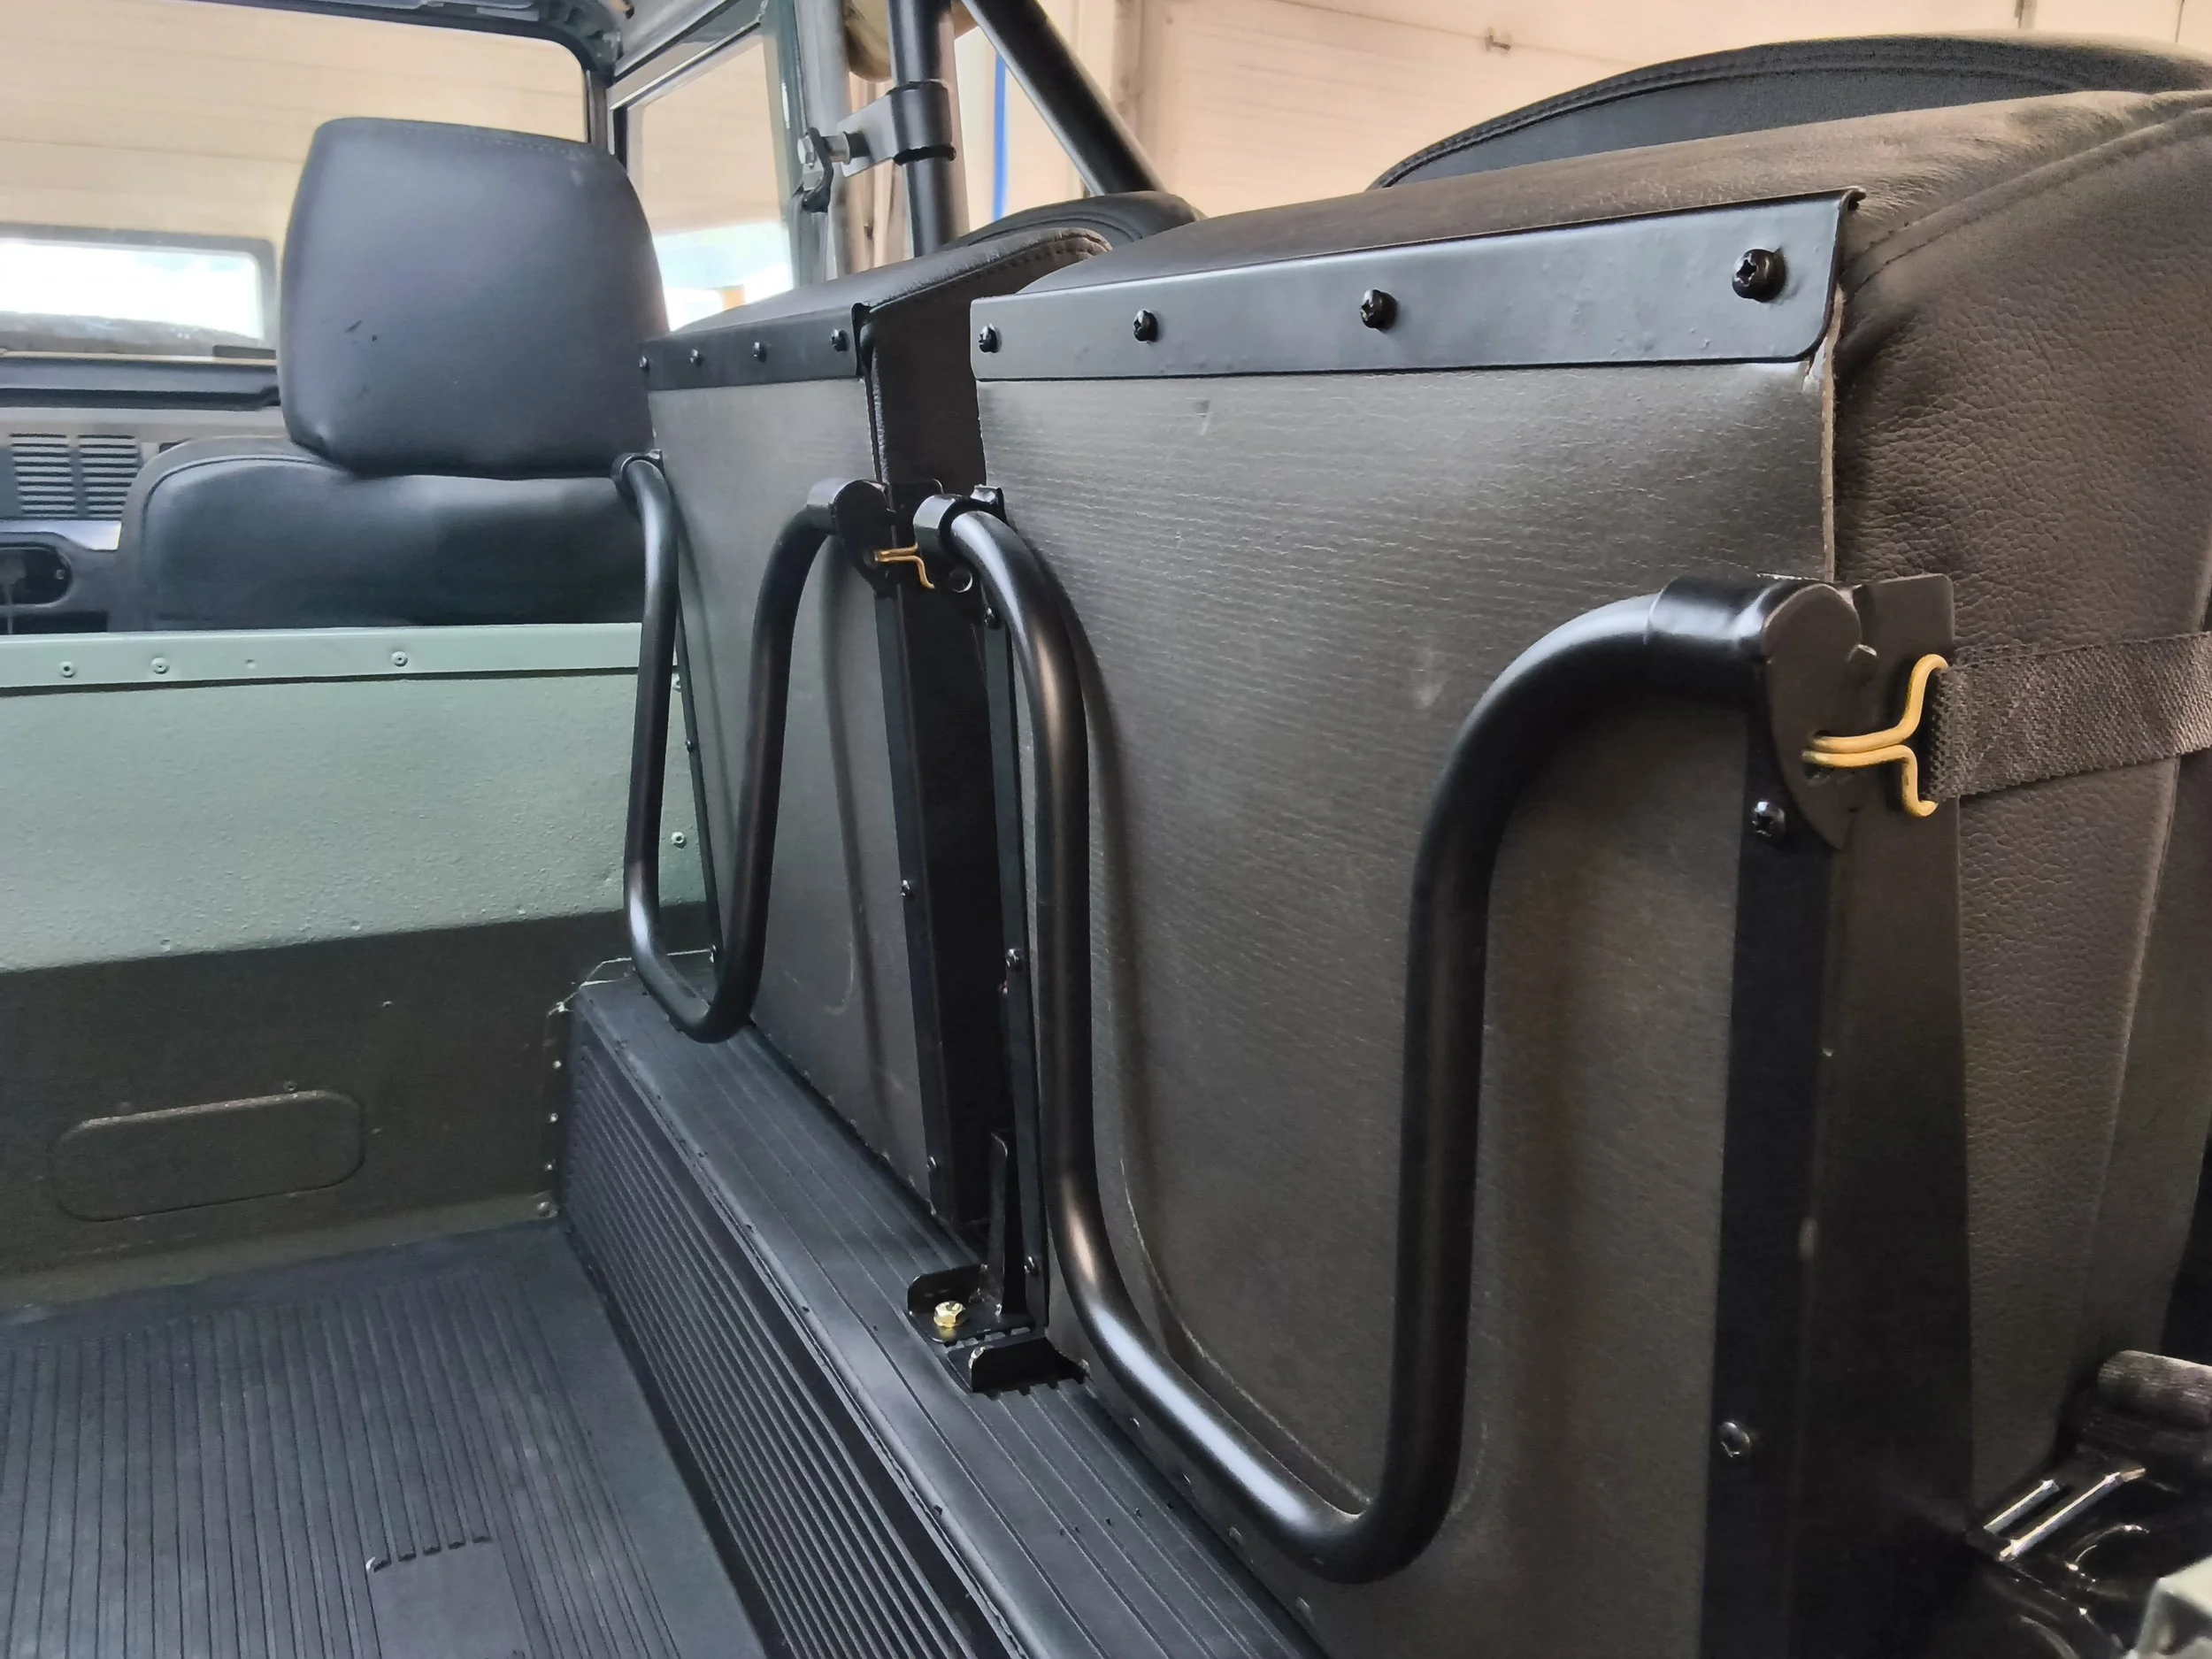
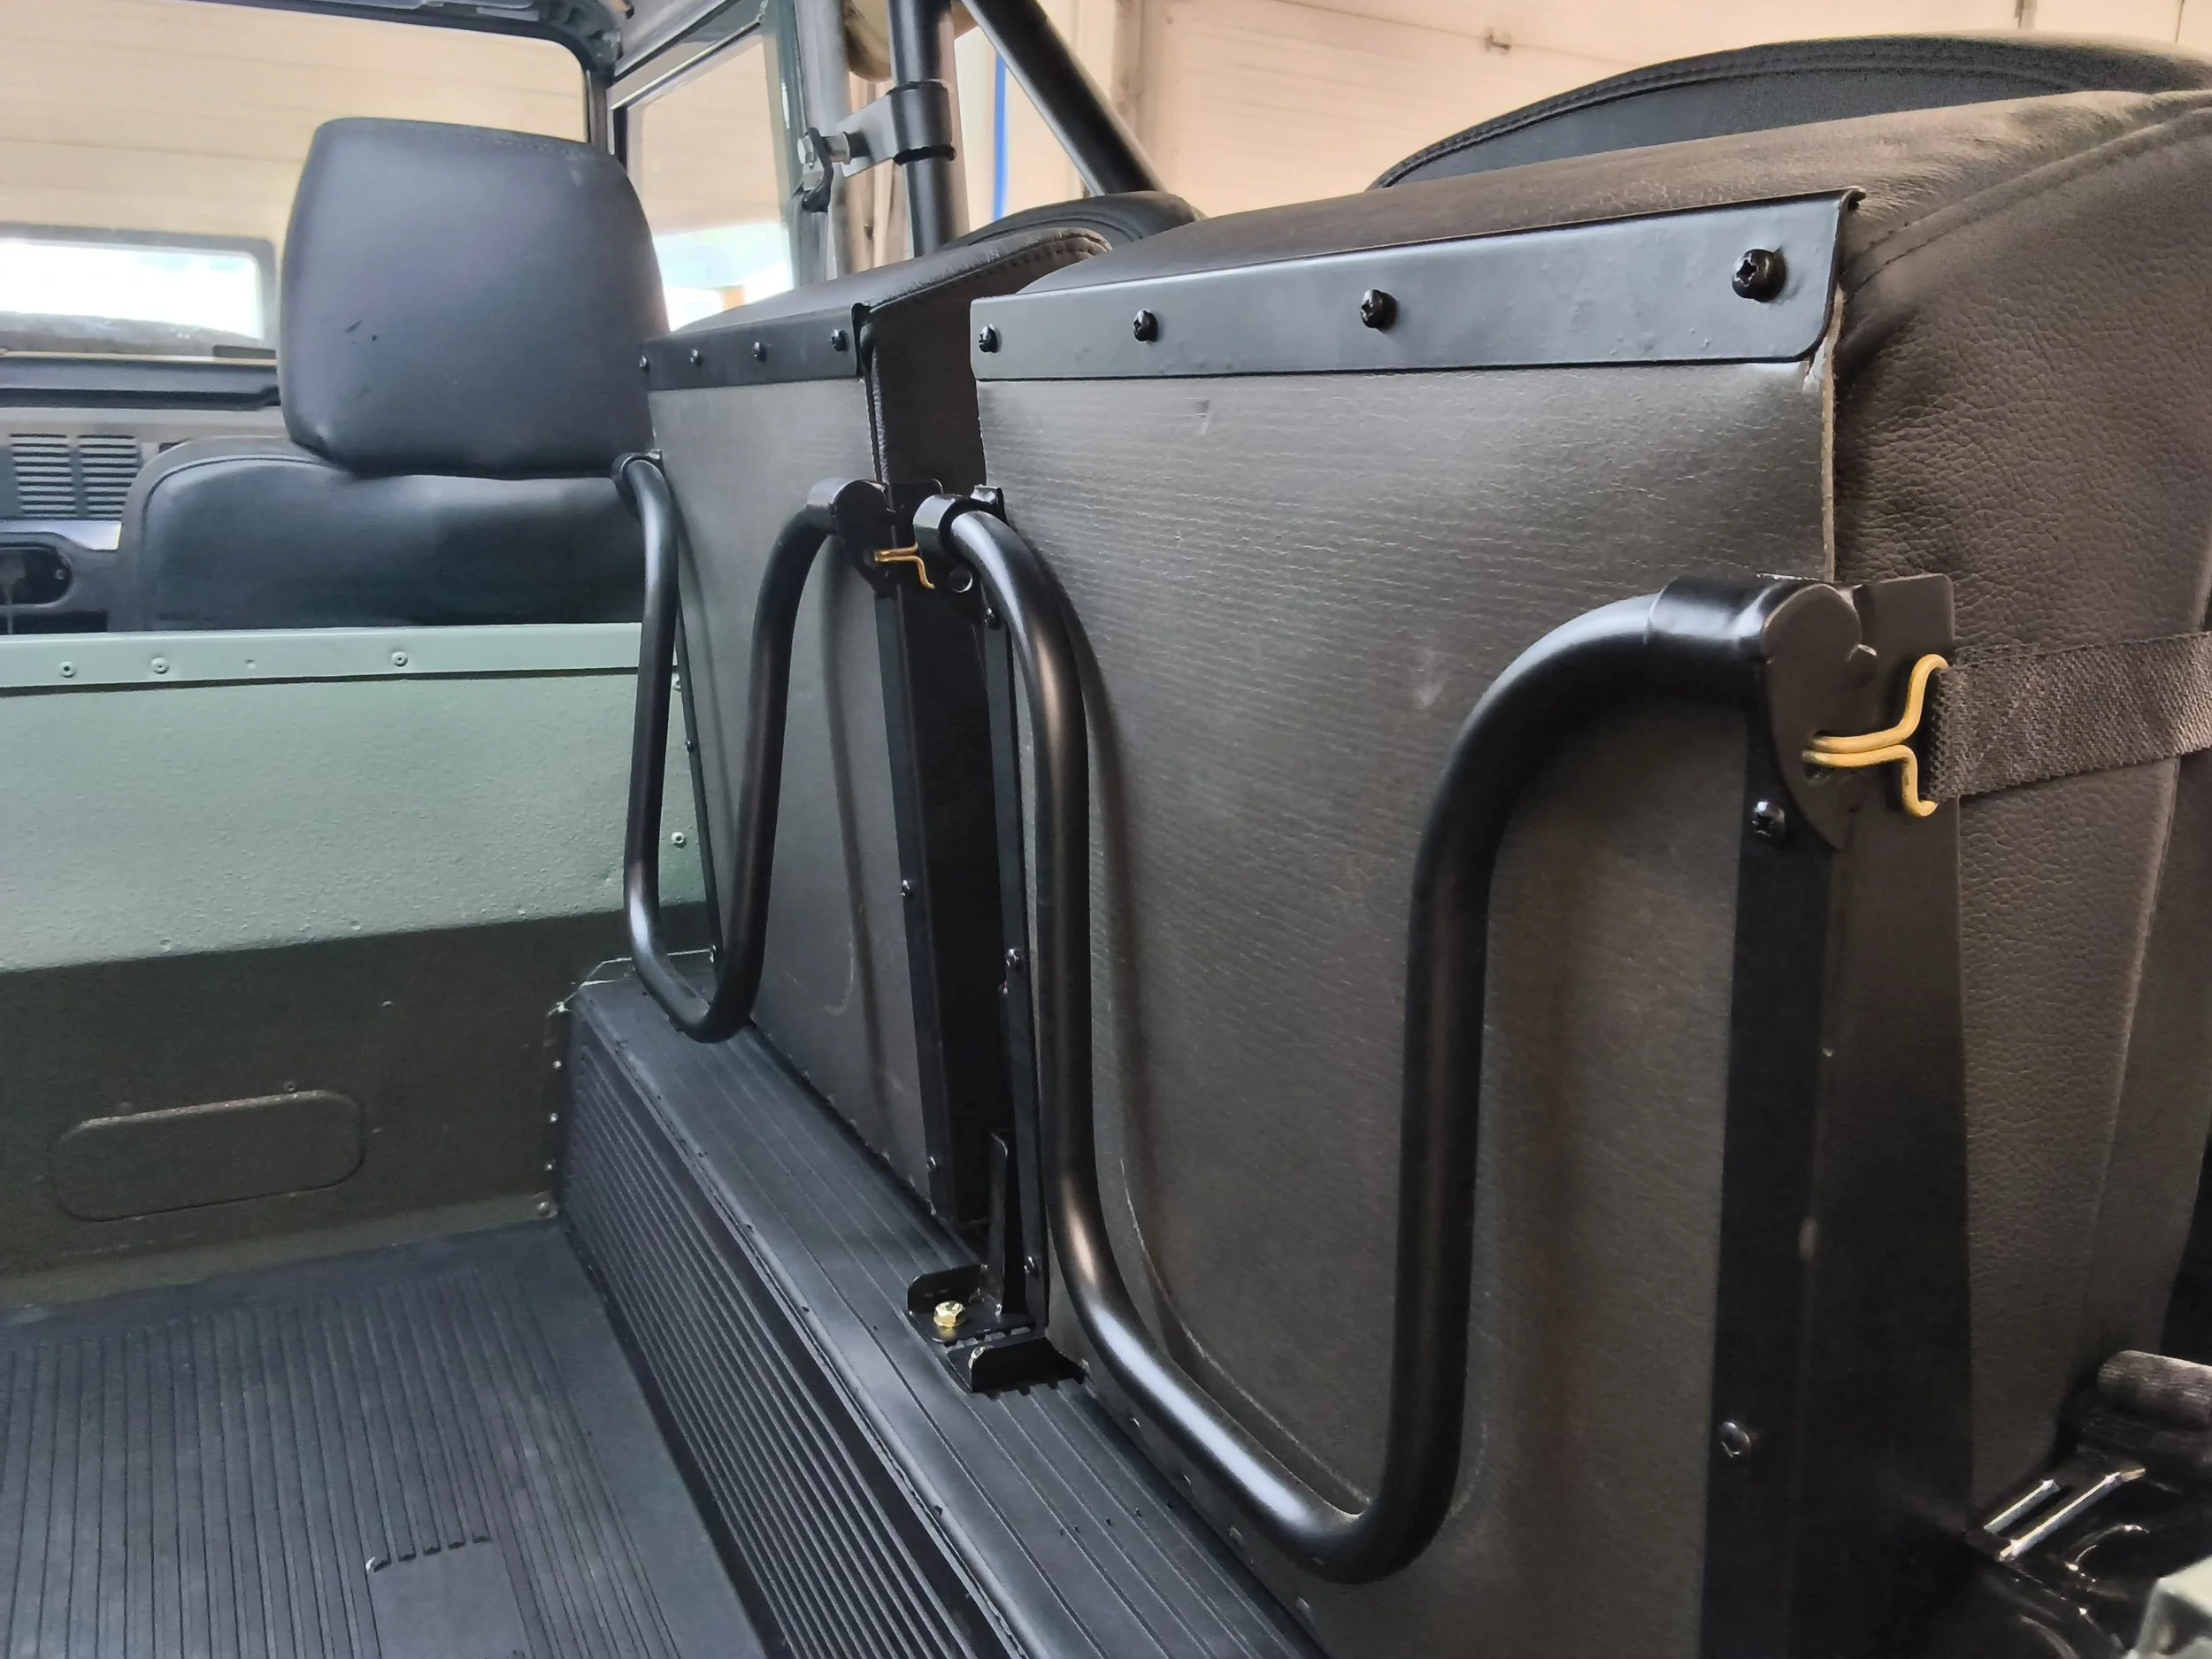
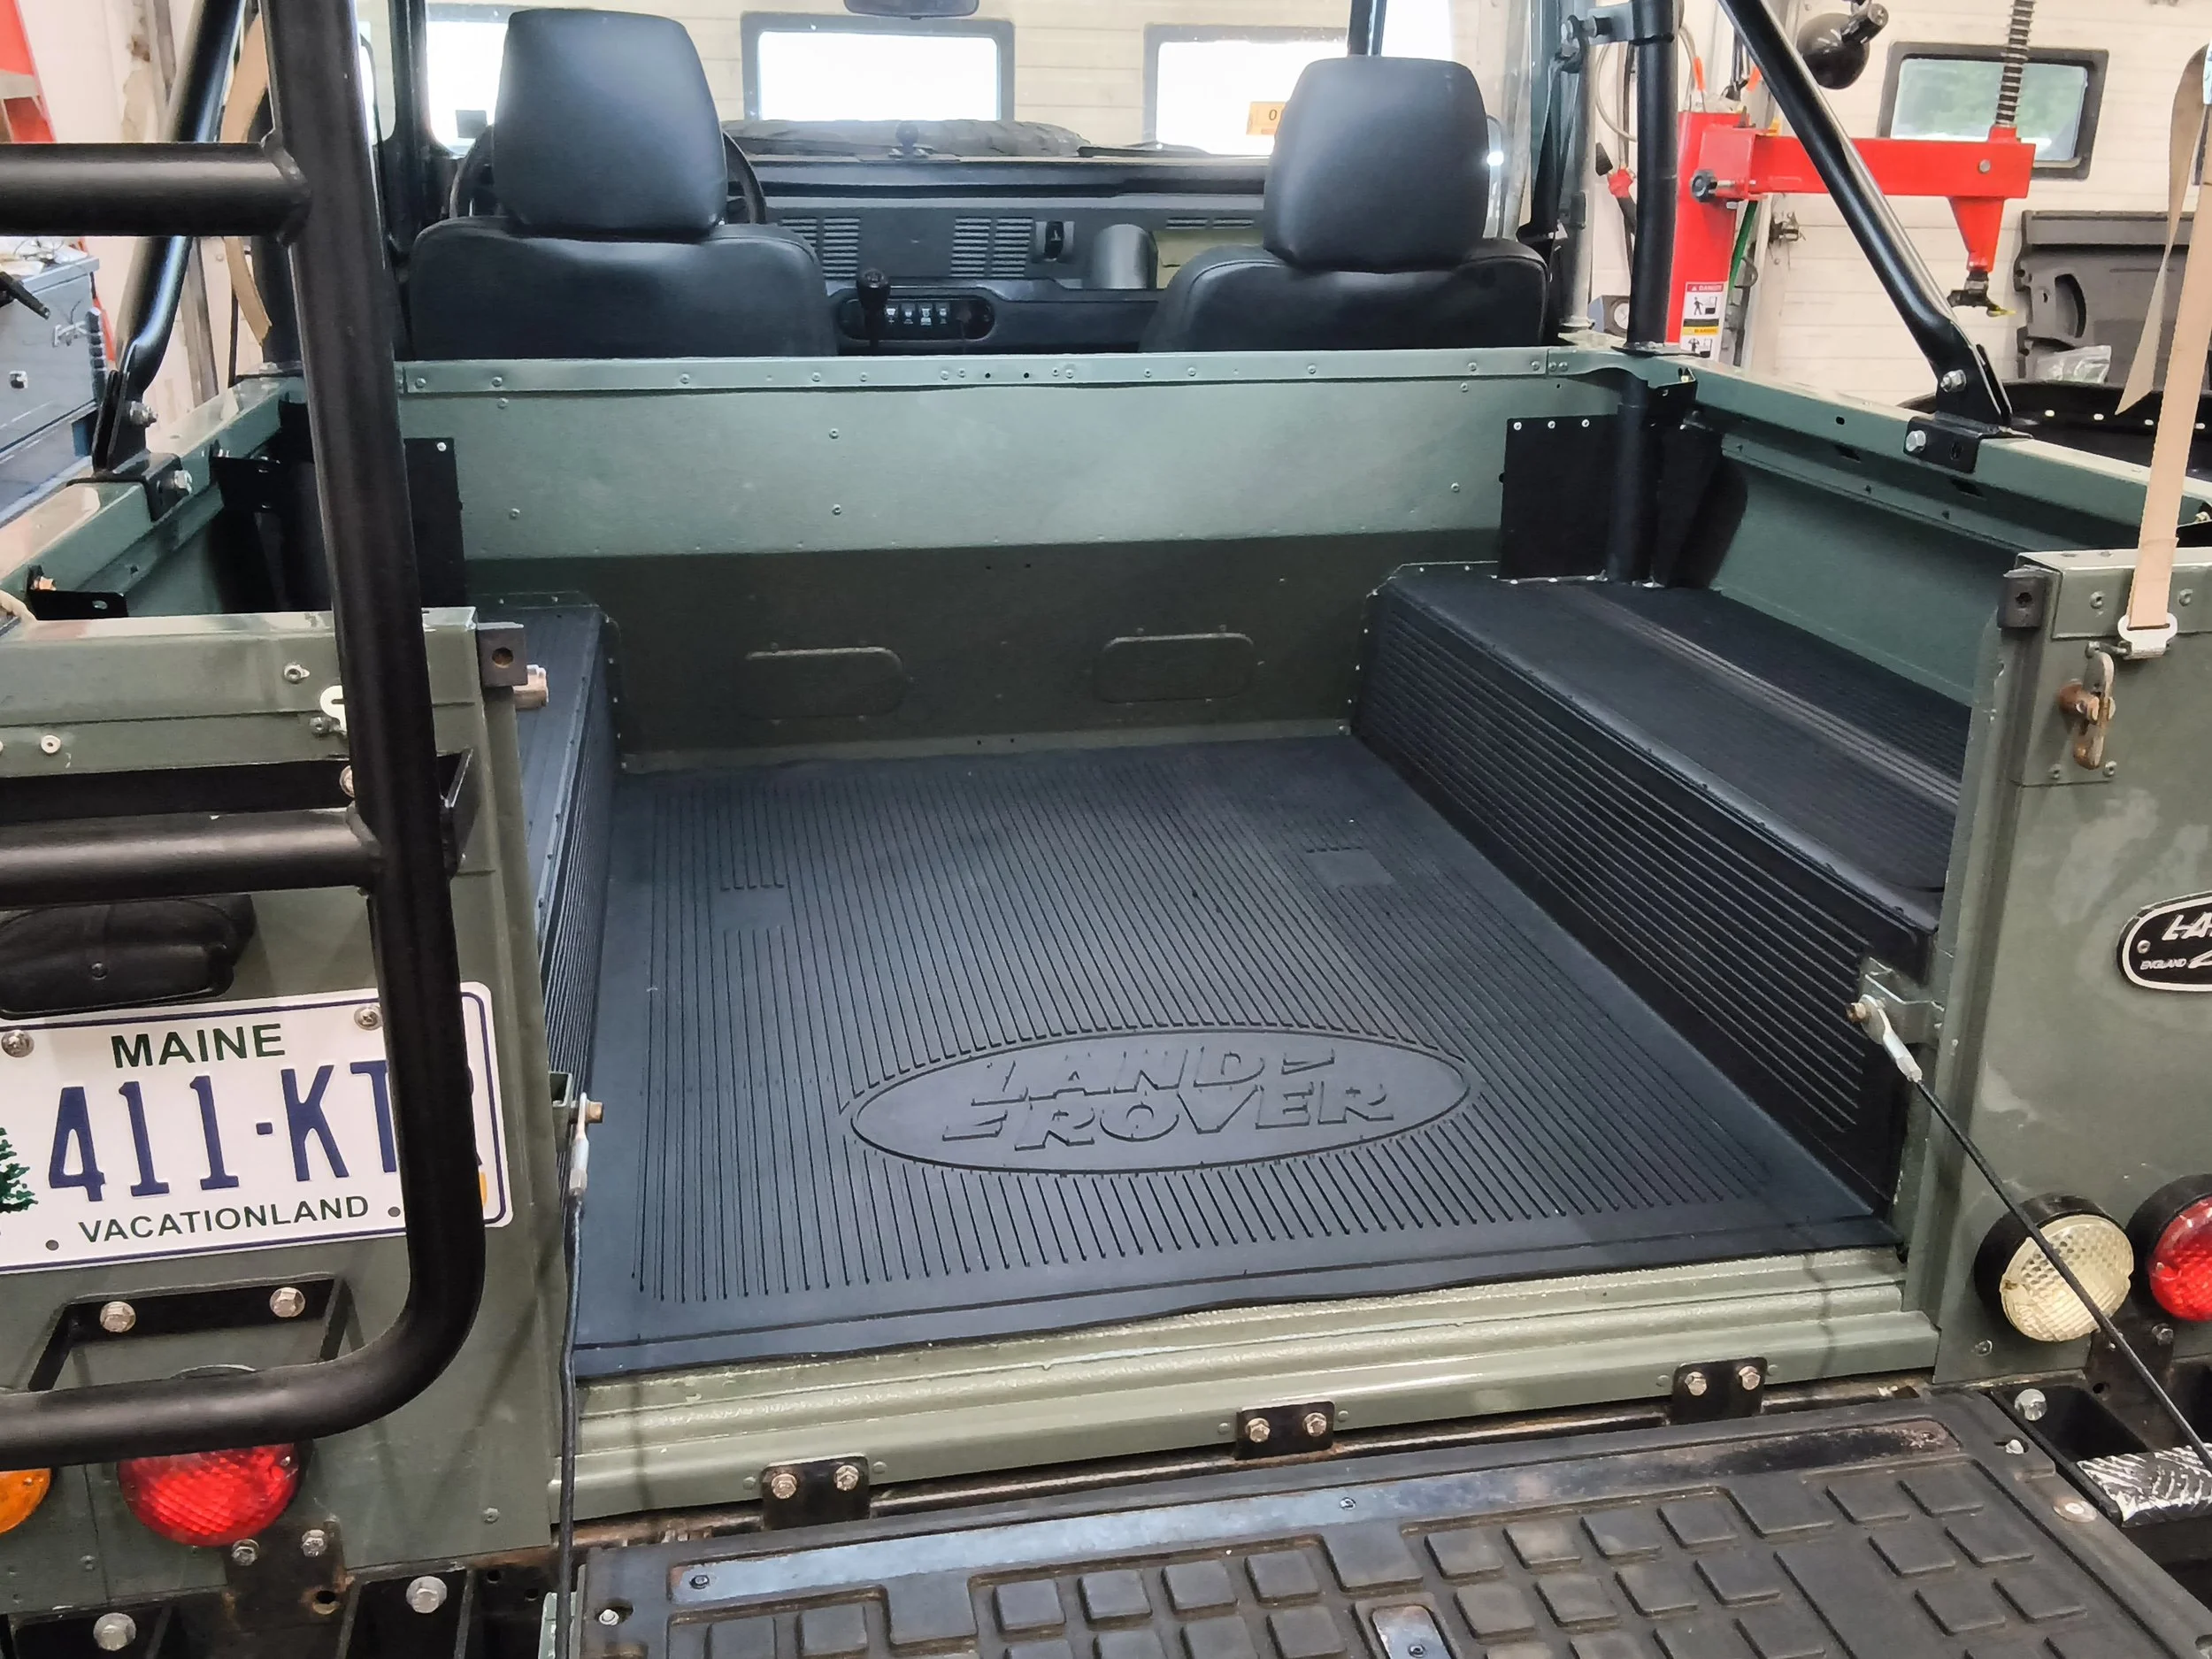
Two jobs in the back of this Defender: laying in the rubber load area mat, and mounting the rear seats. Neither is glamorous. Both come down to the same habit, which is building a disposable version of the decision before you make the permanent one.
The mat
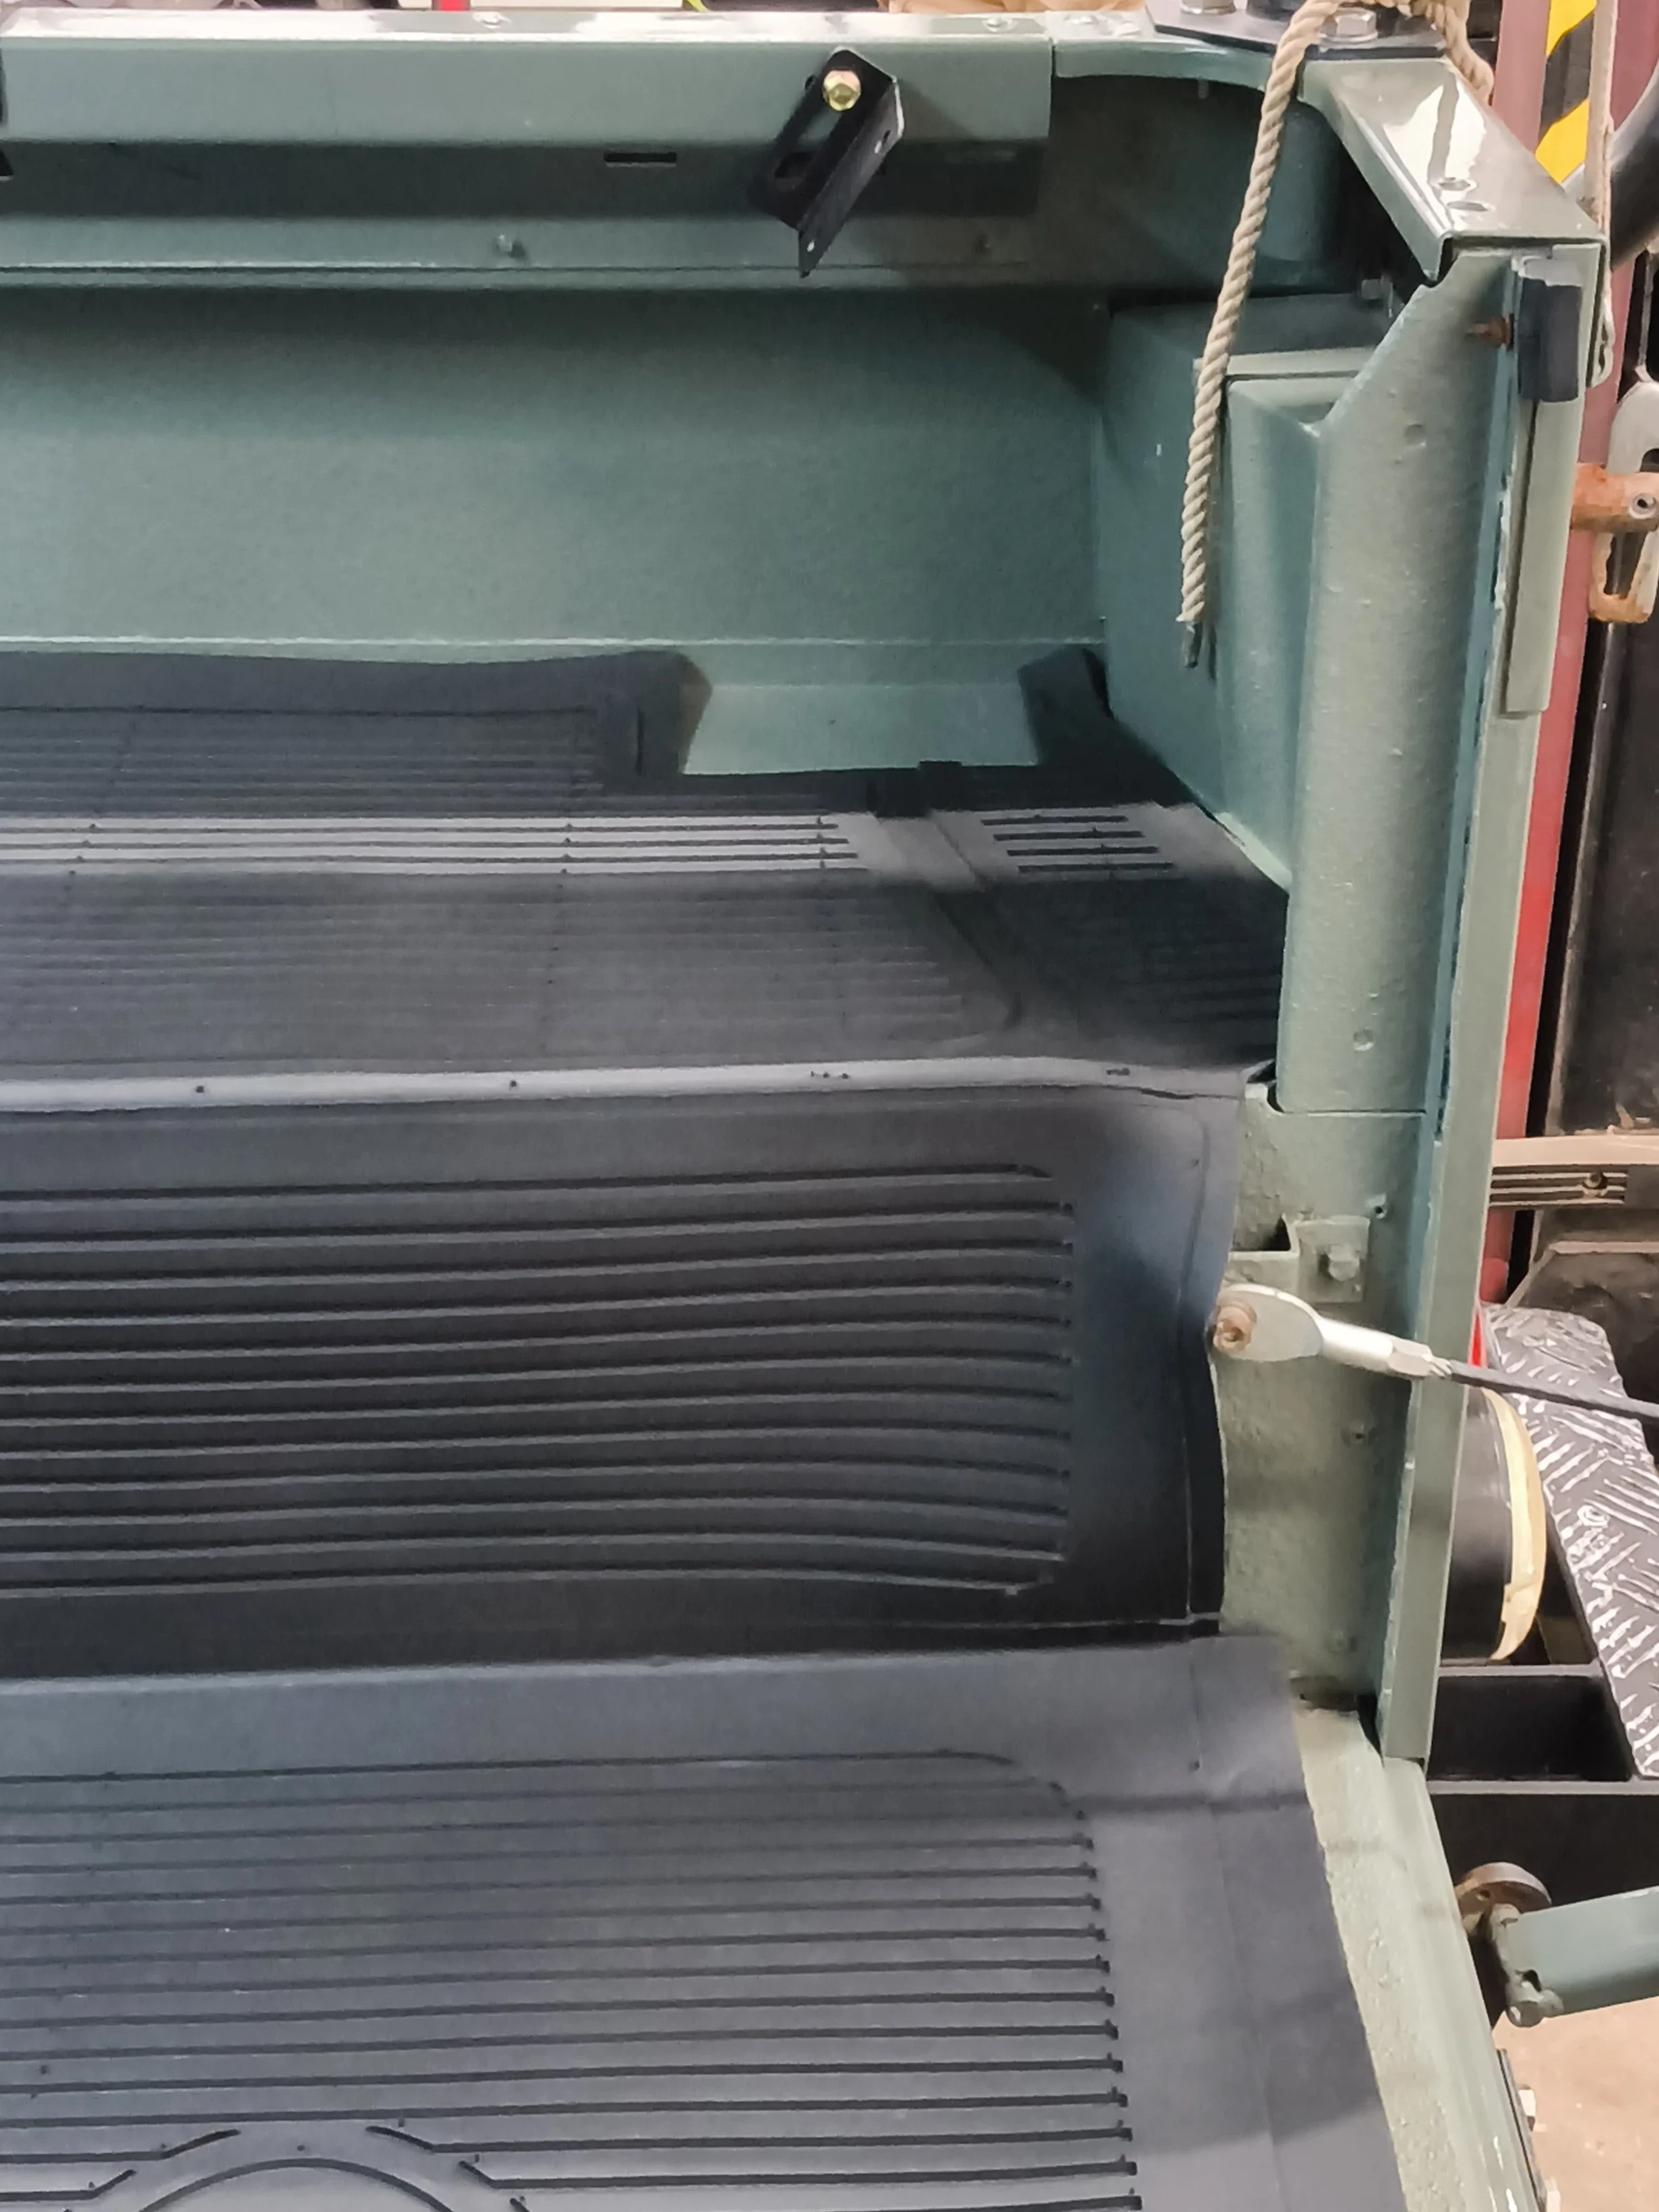
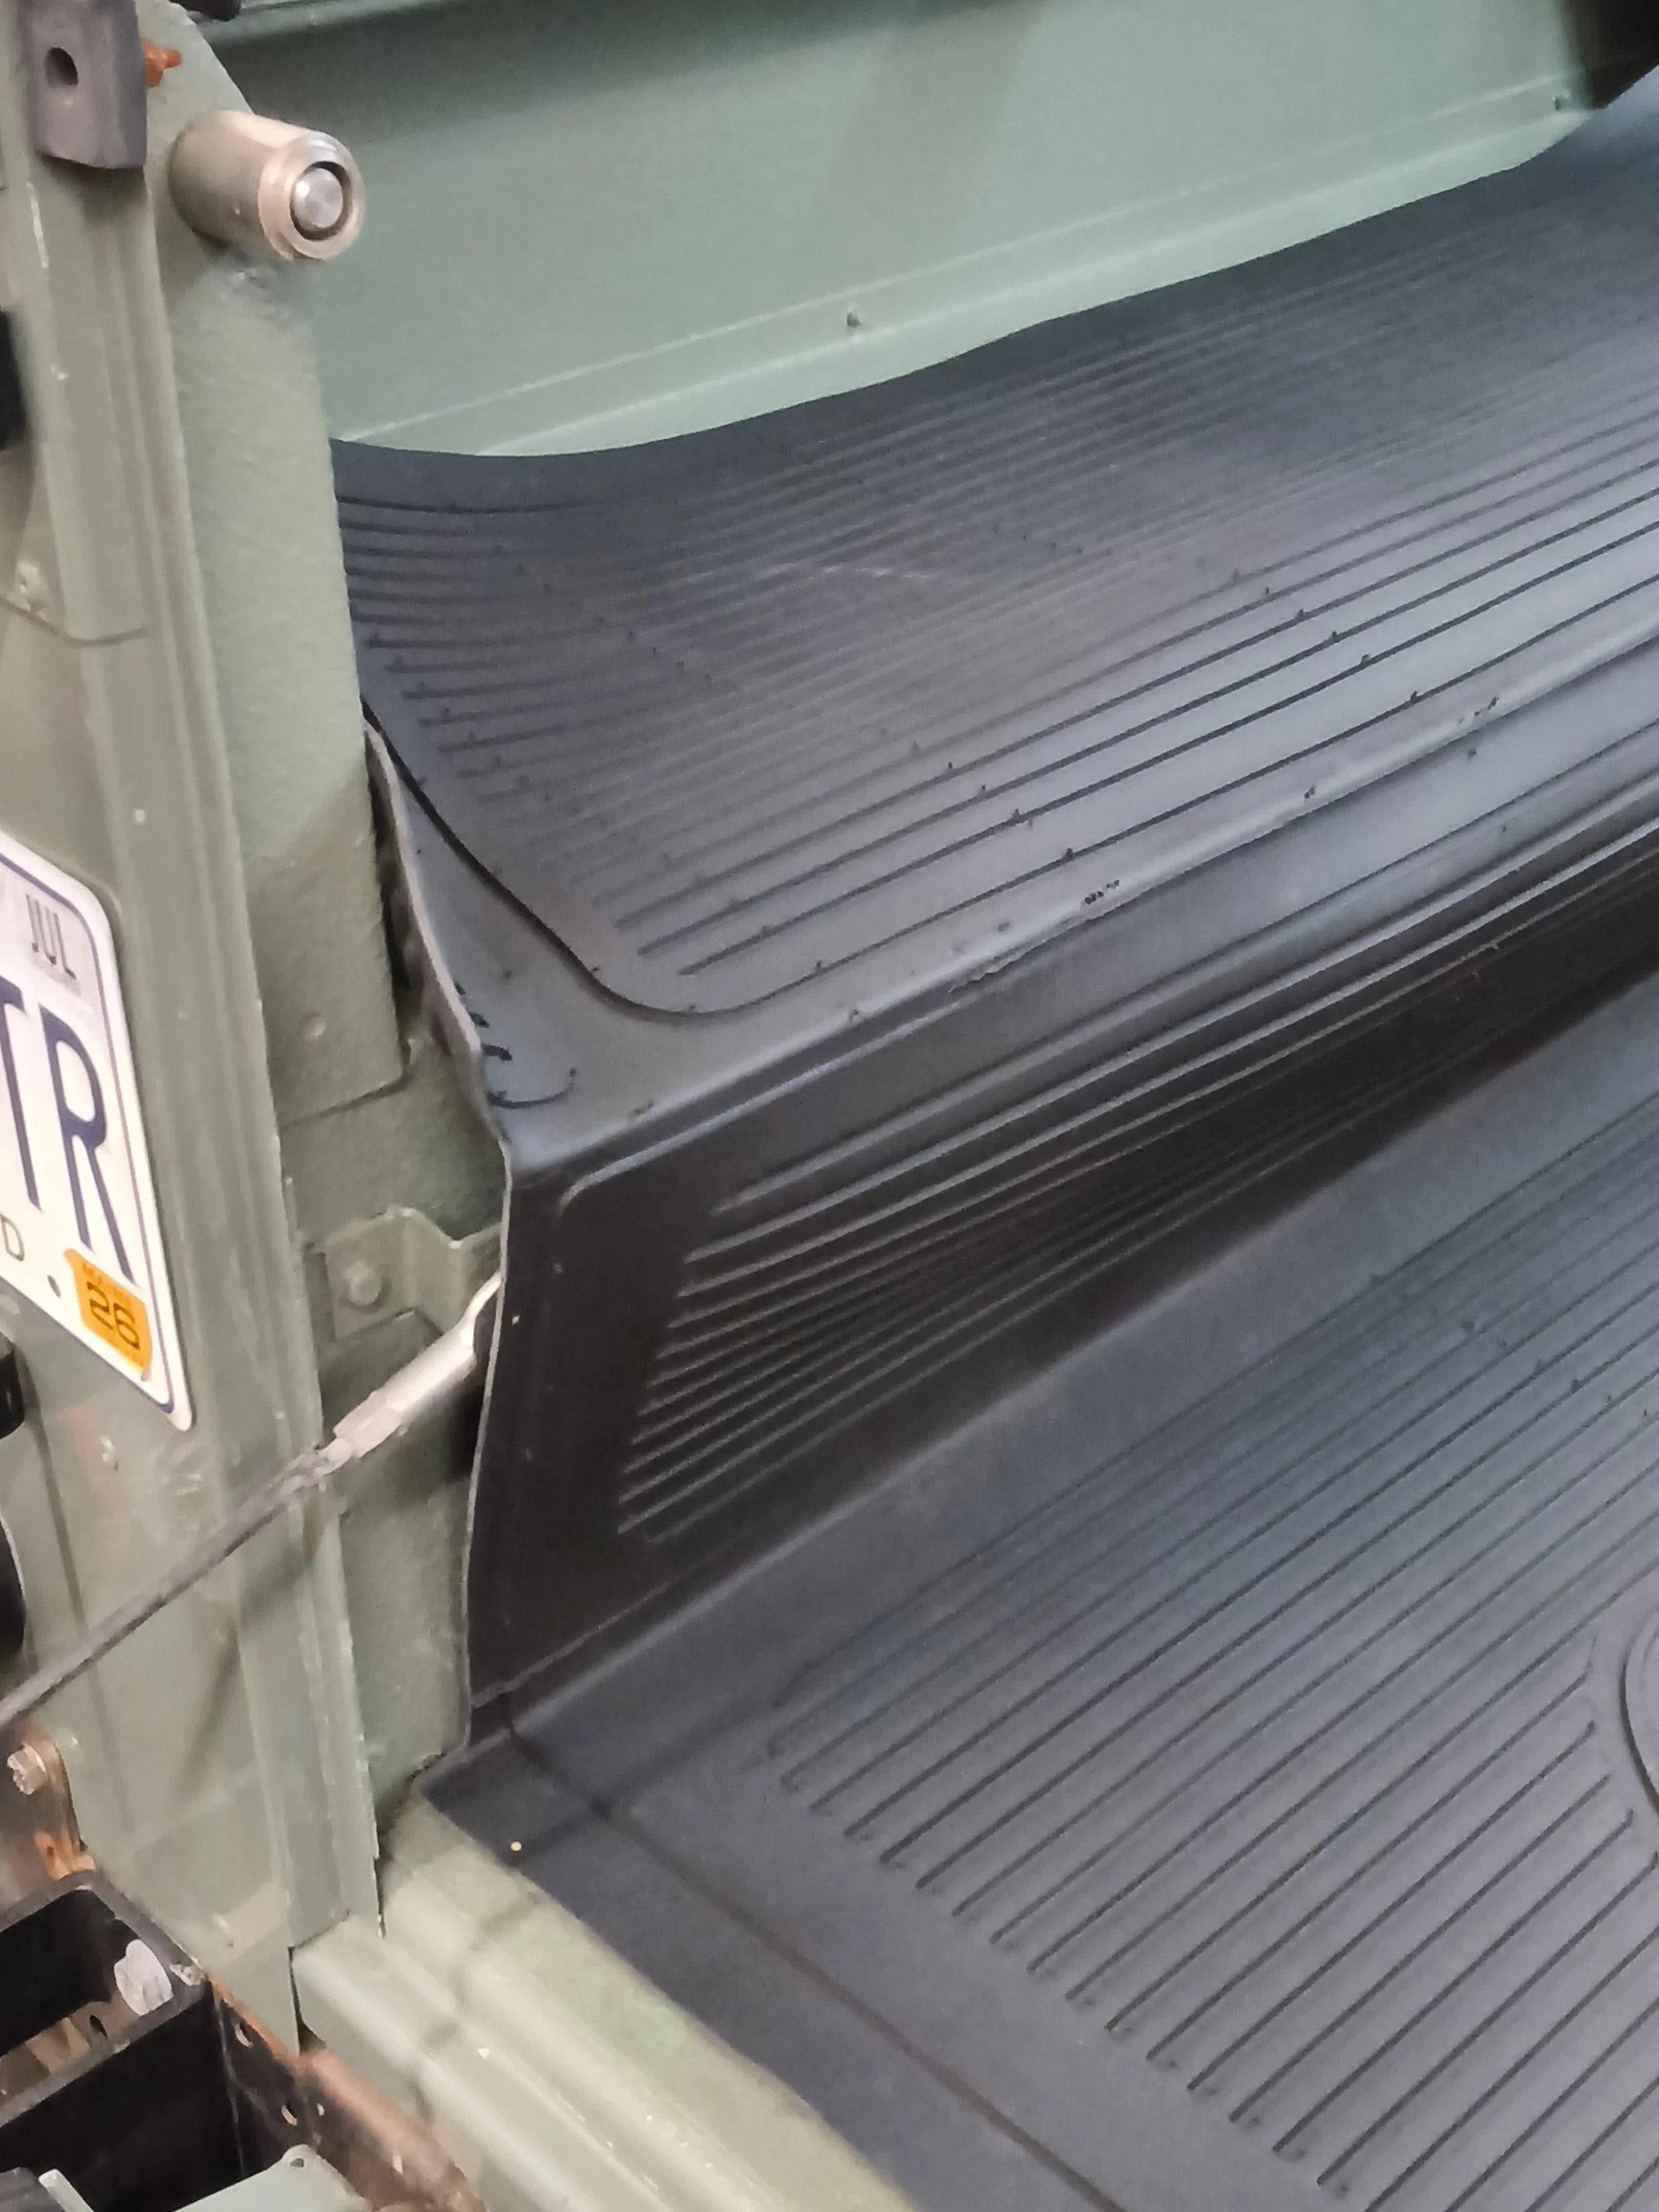
A load mat looks like a drop-in part. It isn't. Cage feet, seat mount brackets, tie-downs, and the rear wheel wells all interrupt the floor, and the mat has to work around every one without gaps, bunching, or a wavy edge that catches a boot heel.
Let it relax first. These ship rolled and rubber has memory. Ours sat flat overnight in a warm shop. A mat that's flat before you cut stays flat after.
Template every obstacle. Cardboard or kraft paper over the area, pressed until the edges read through. Trace it, cut it, test-fit the paper, adjust until it drops in with the clearance you want. Then transfer to the mat. Paper is free. You get unlimited attempts on the template and exactly one on the rubber.
Cutting: fresh blade, changed more often than feels reasonable. Rubber dulls a blade fast, and a dull blade tears instead of slices. Cut from the underside so any wander doesn't show. Undersize every cut and sneak up on it. Radius the inside corners, because a sharp 90 is a tear waiting to happen.
Then bond it down. An unsecured mat creeps, curls at the edges, and traps grit that grinds against the paint underneath every time it shifts. This one went down with 3M Super Trim Adhesive (08090), a high-temp spray contact adhesive. Floor and mat both get sprayed and left to tack off before they touch, and once they touch you're committed, so mark your dry-fit position before you spray anything and lay it in from one end so you don't trap air. The floor has to be clean and degreased or none of it holds. No new holes in a fresh tub floor, which was the point. The seats ended up being the only thing mechanically fastened to this load area.
The seats
Marking on a finished tub is the problem. Pencil doesn't show on paint, marker stains and stays after you've changed your mind twice, and a scribe cuts your finish. And you will change your mind, because you're dry-fitting the seat, pulling it back out, and doing it again.
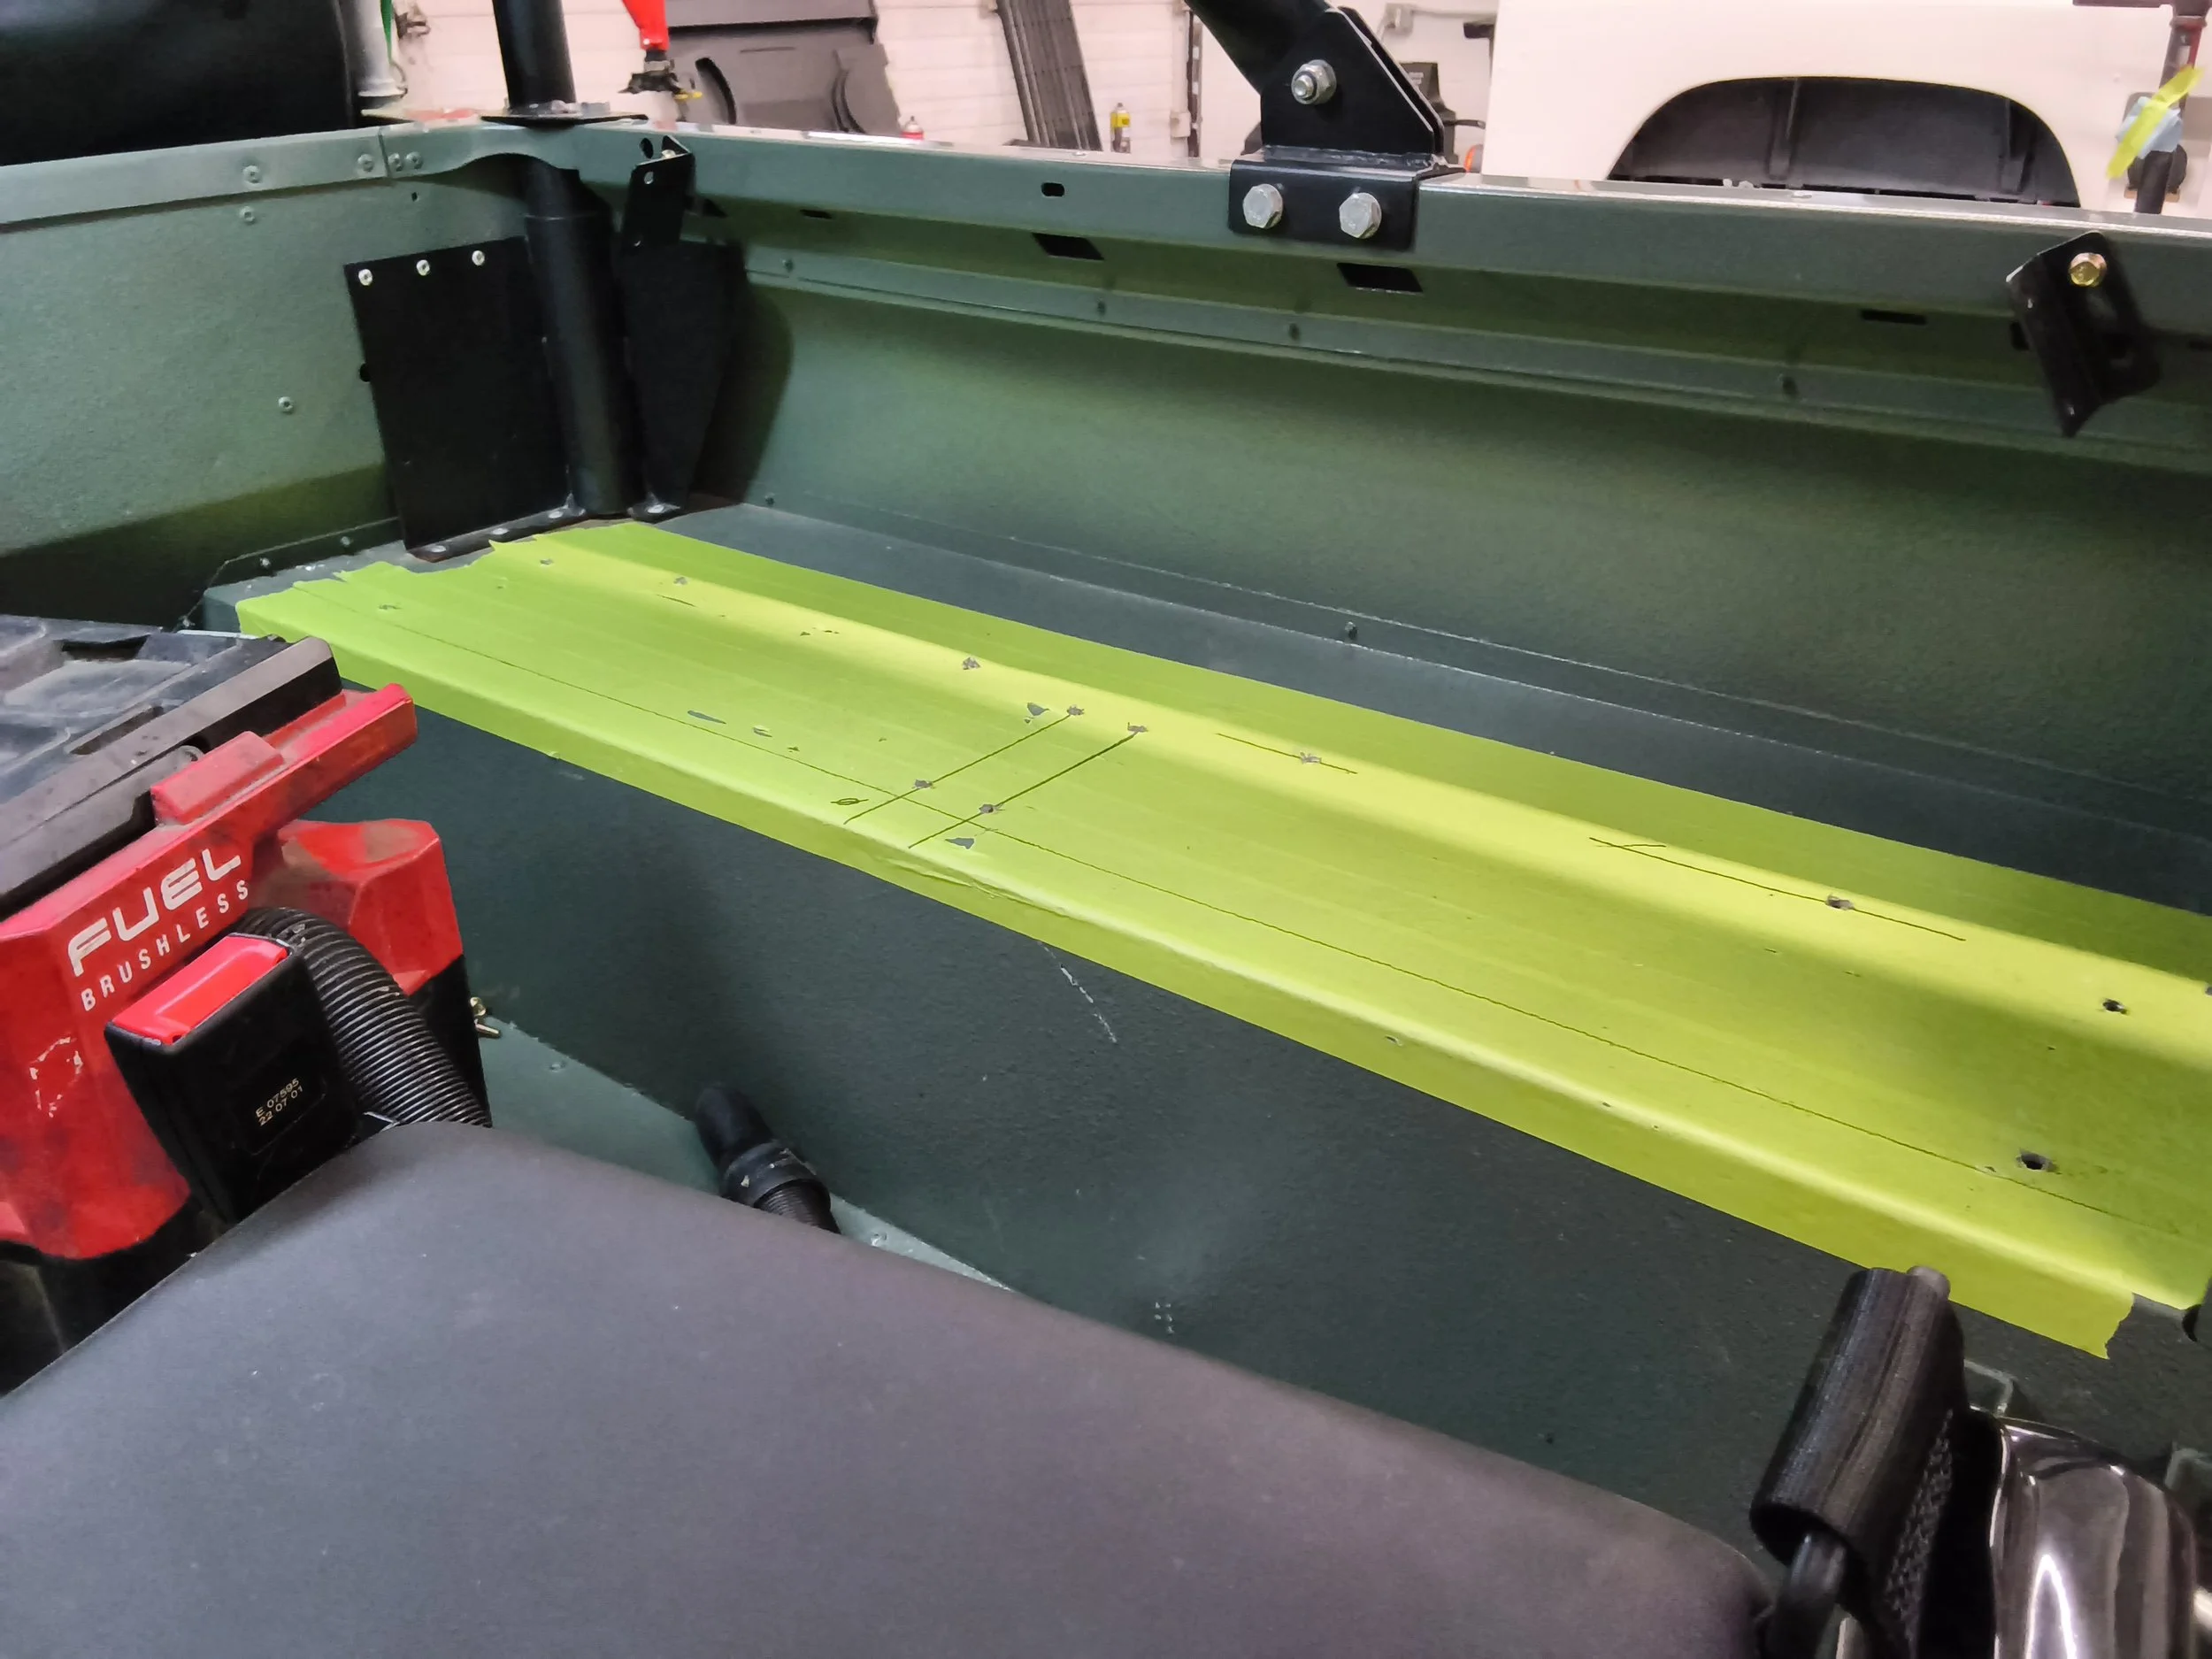
So the marking area got a run of green tape. It's opaque and bright, so pencil and knife lines read clearly. It's disposable: wrong line, peel it and re-lay it. It protects the paint while a steel seat frame slides in and out, and it catches swarf when you finally drill. And the marks stay put through however many dry fits it takes, so you're not re-measuring from scratch every time the seat comes back out.
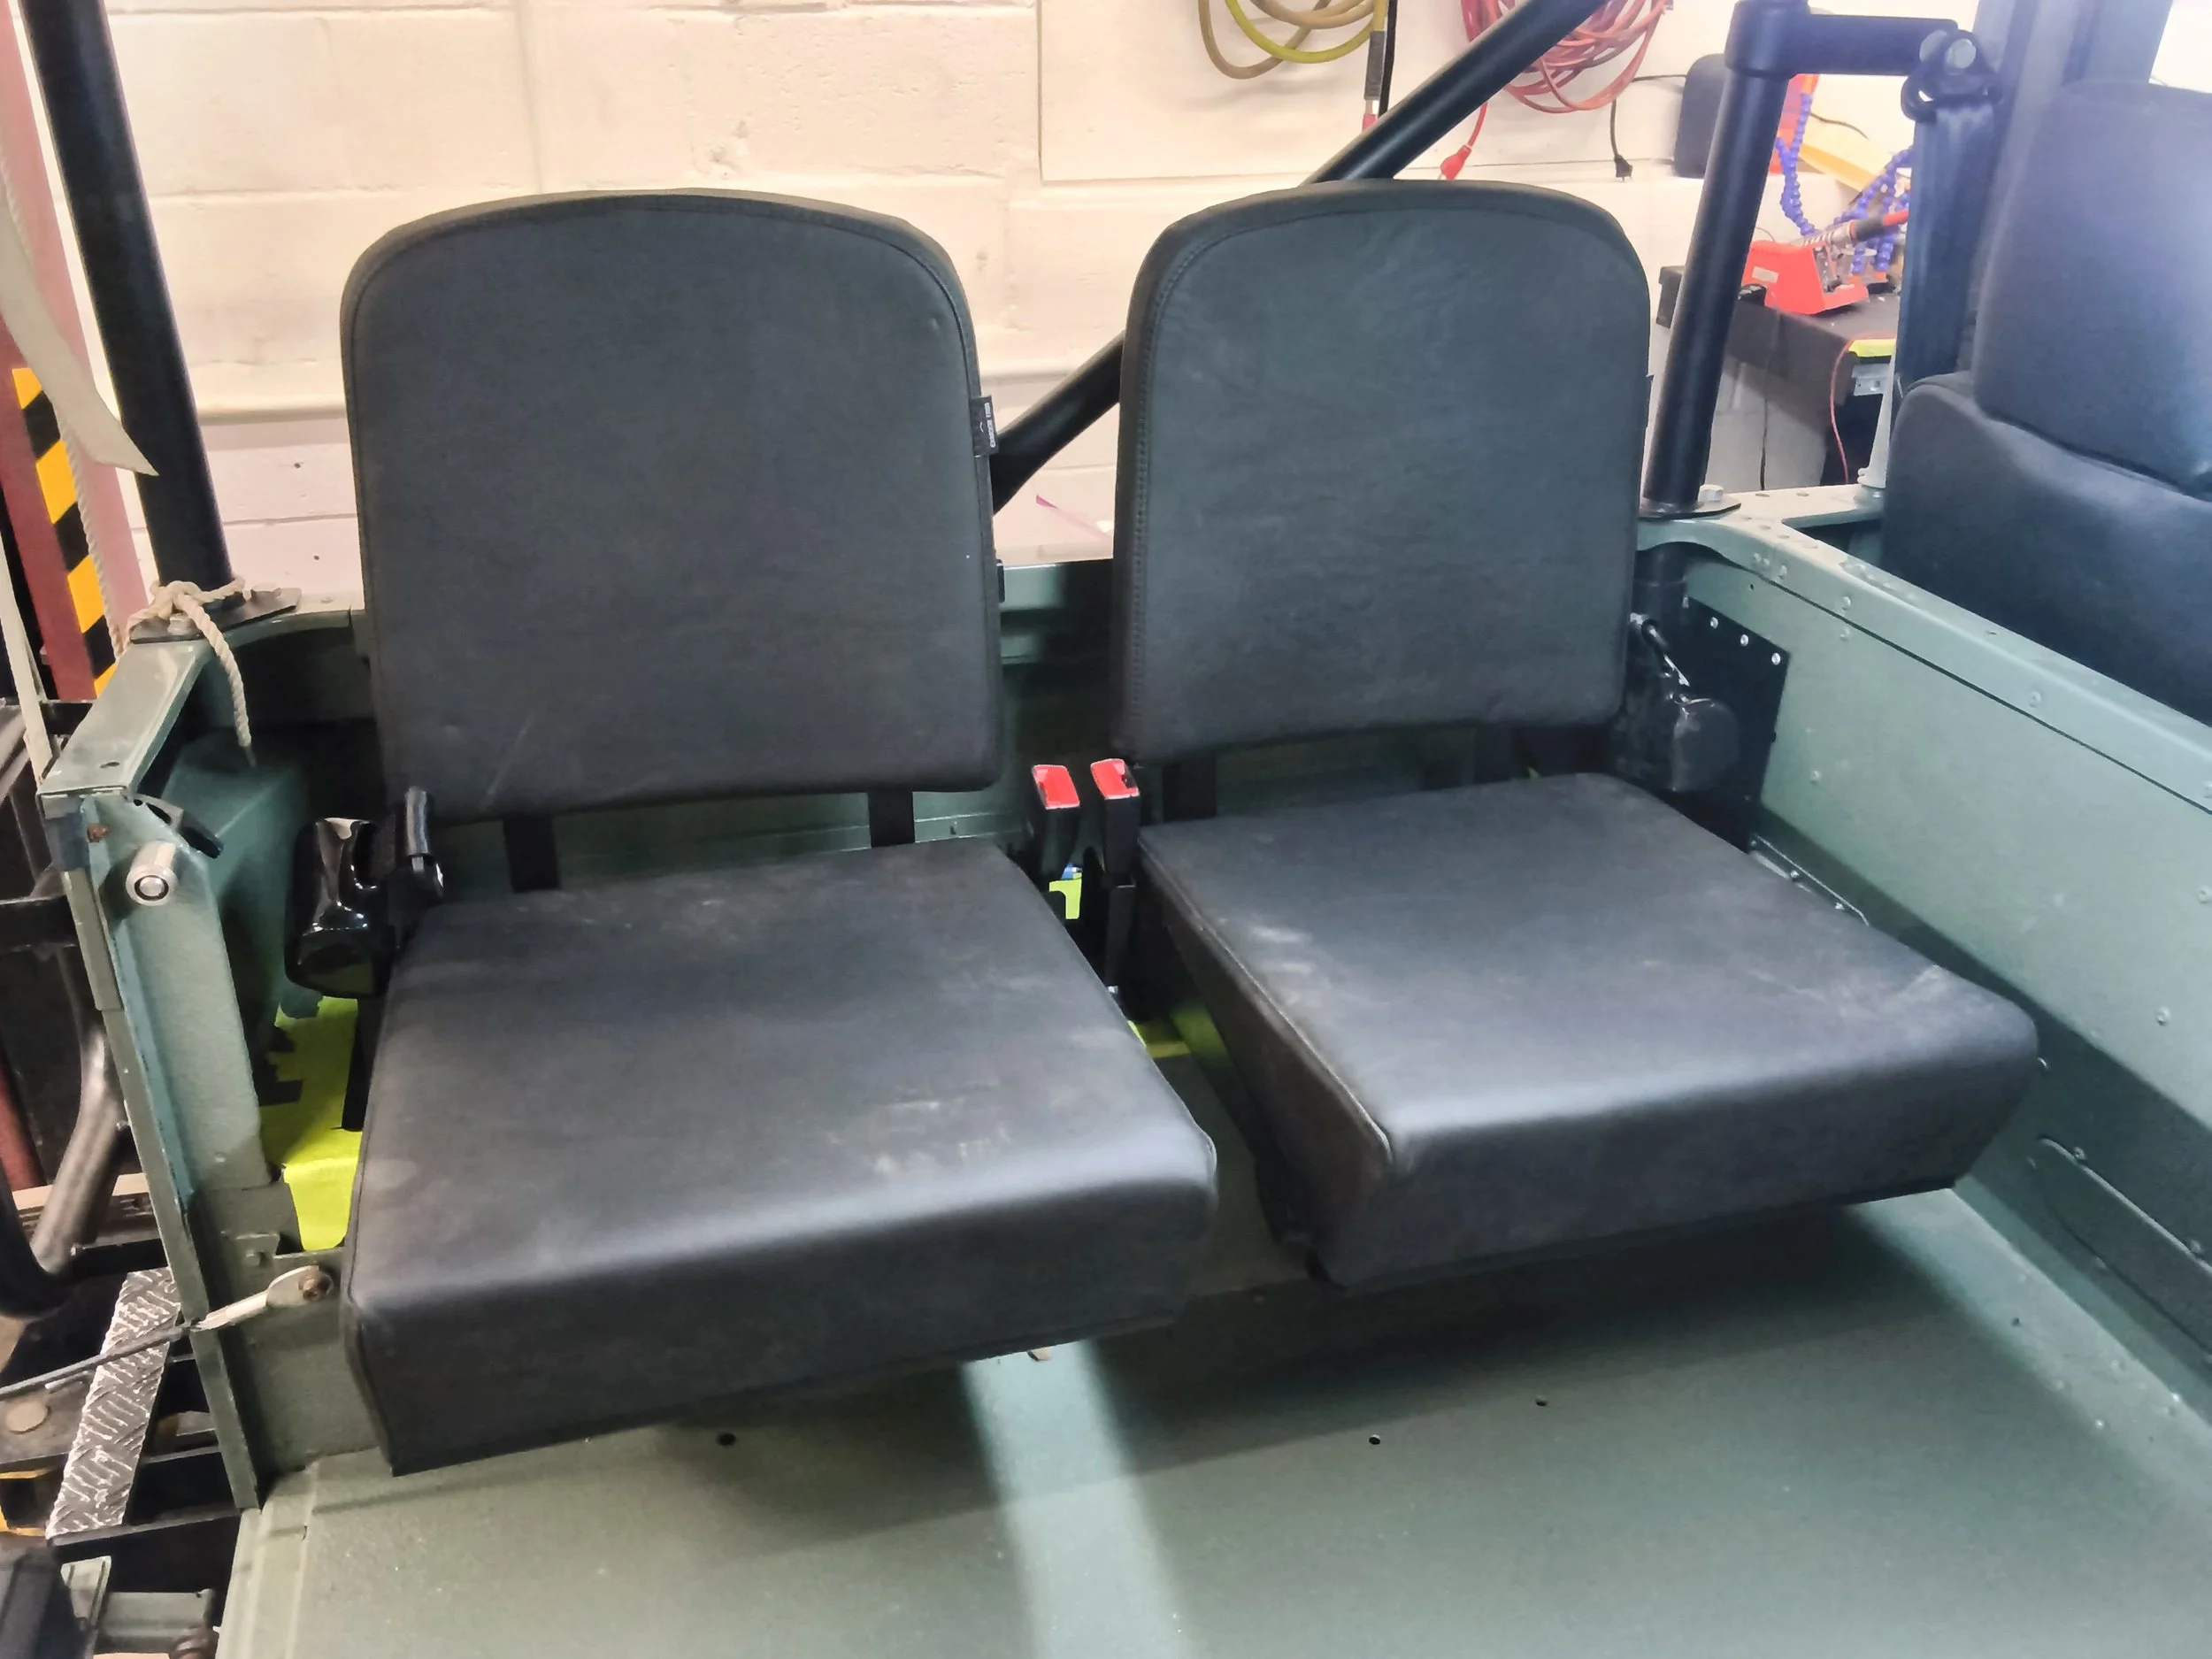
Work off a centerline, not the tub sides. Tubs are rarely perfectly symmetric, and after panel work they're definitely not. Set each seat off its nearest wall and you'll get two seats that are each "correct" and visibly mismatched.
Then find the rib you can't see. The tub floor at the wheel well has an internal support rib underneath. From above it looks like flat panel. Drill blind and you either stop dead on the rib or get through and find no access behind it for a nut. Get underneath, locate it, and transfer its position up onto the tape. Now the hazard is drawn right alongside your layout and you can shift the frame so every fastener lands clear.
Finish the holes before final fitment. Every hole gets deburred, cleaned, primed, and painted before the seats go in for the last time. A bare drilled edge in an aluminum tub leaves exposed metal with a start date, and it's buried under a seat frame where nobody will see it until it's a problem. The wheel wells get a coat of Black Waxoyl as a final step, which is cheap insurance on an area that stays wet and out of sight.
Both seats went in on the first attempt. No plugged holes, no repaint.